I often wish some buttons on a radio were easier to spot since many have two or three labels on or near them. Also, typing frequencies using the radio’s number buttons can be very cumbersome. It would be much easier to:
-
- Type frequencies on a 10-key pad
- Have most of the radio commands I want all in one place
- Perform multiple actions (like split and unsplit) with one button
This can all be done with a Genovation ControlPad. It also offers a less expensive way to remotely control your radio over a K-Pod or K4/0.
My good friend, Dave Cole NK7Z, did a great write-up in a post showing what he did, using a Raspberry Pi 4 and a small monitor. I wanted to do the same, but with a smaller desktop footprint and spend less money.
I used the following:
-
- Raspberry Pi Zero 2 W
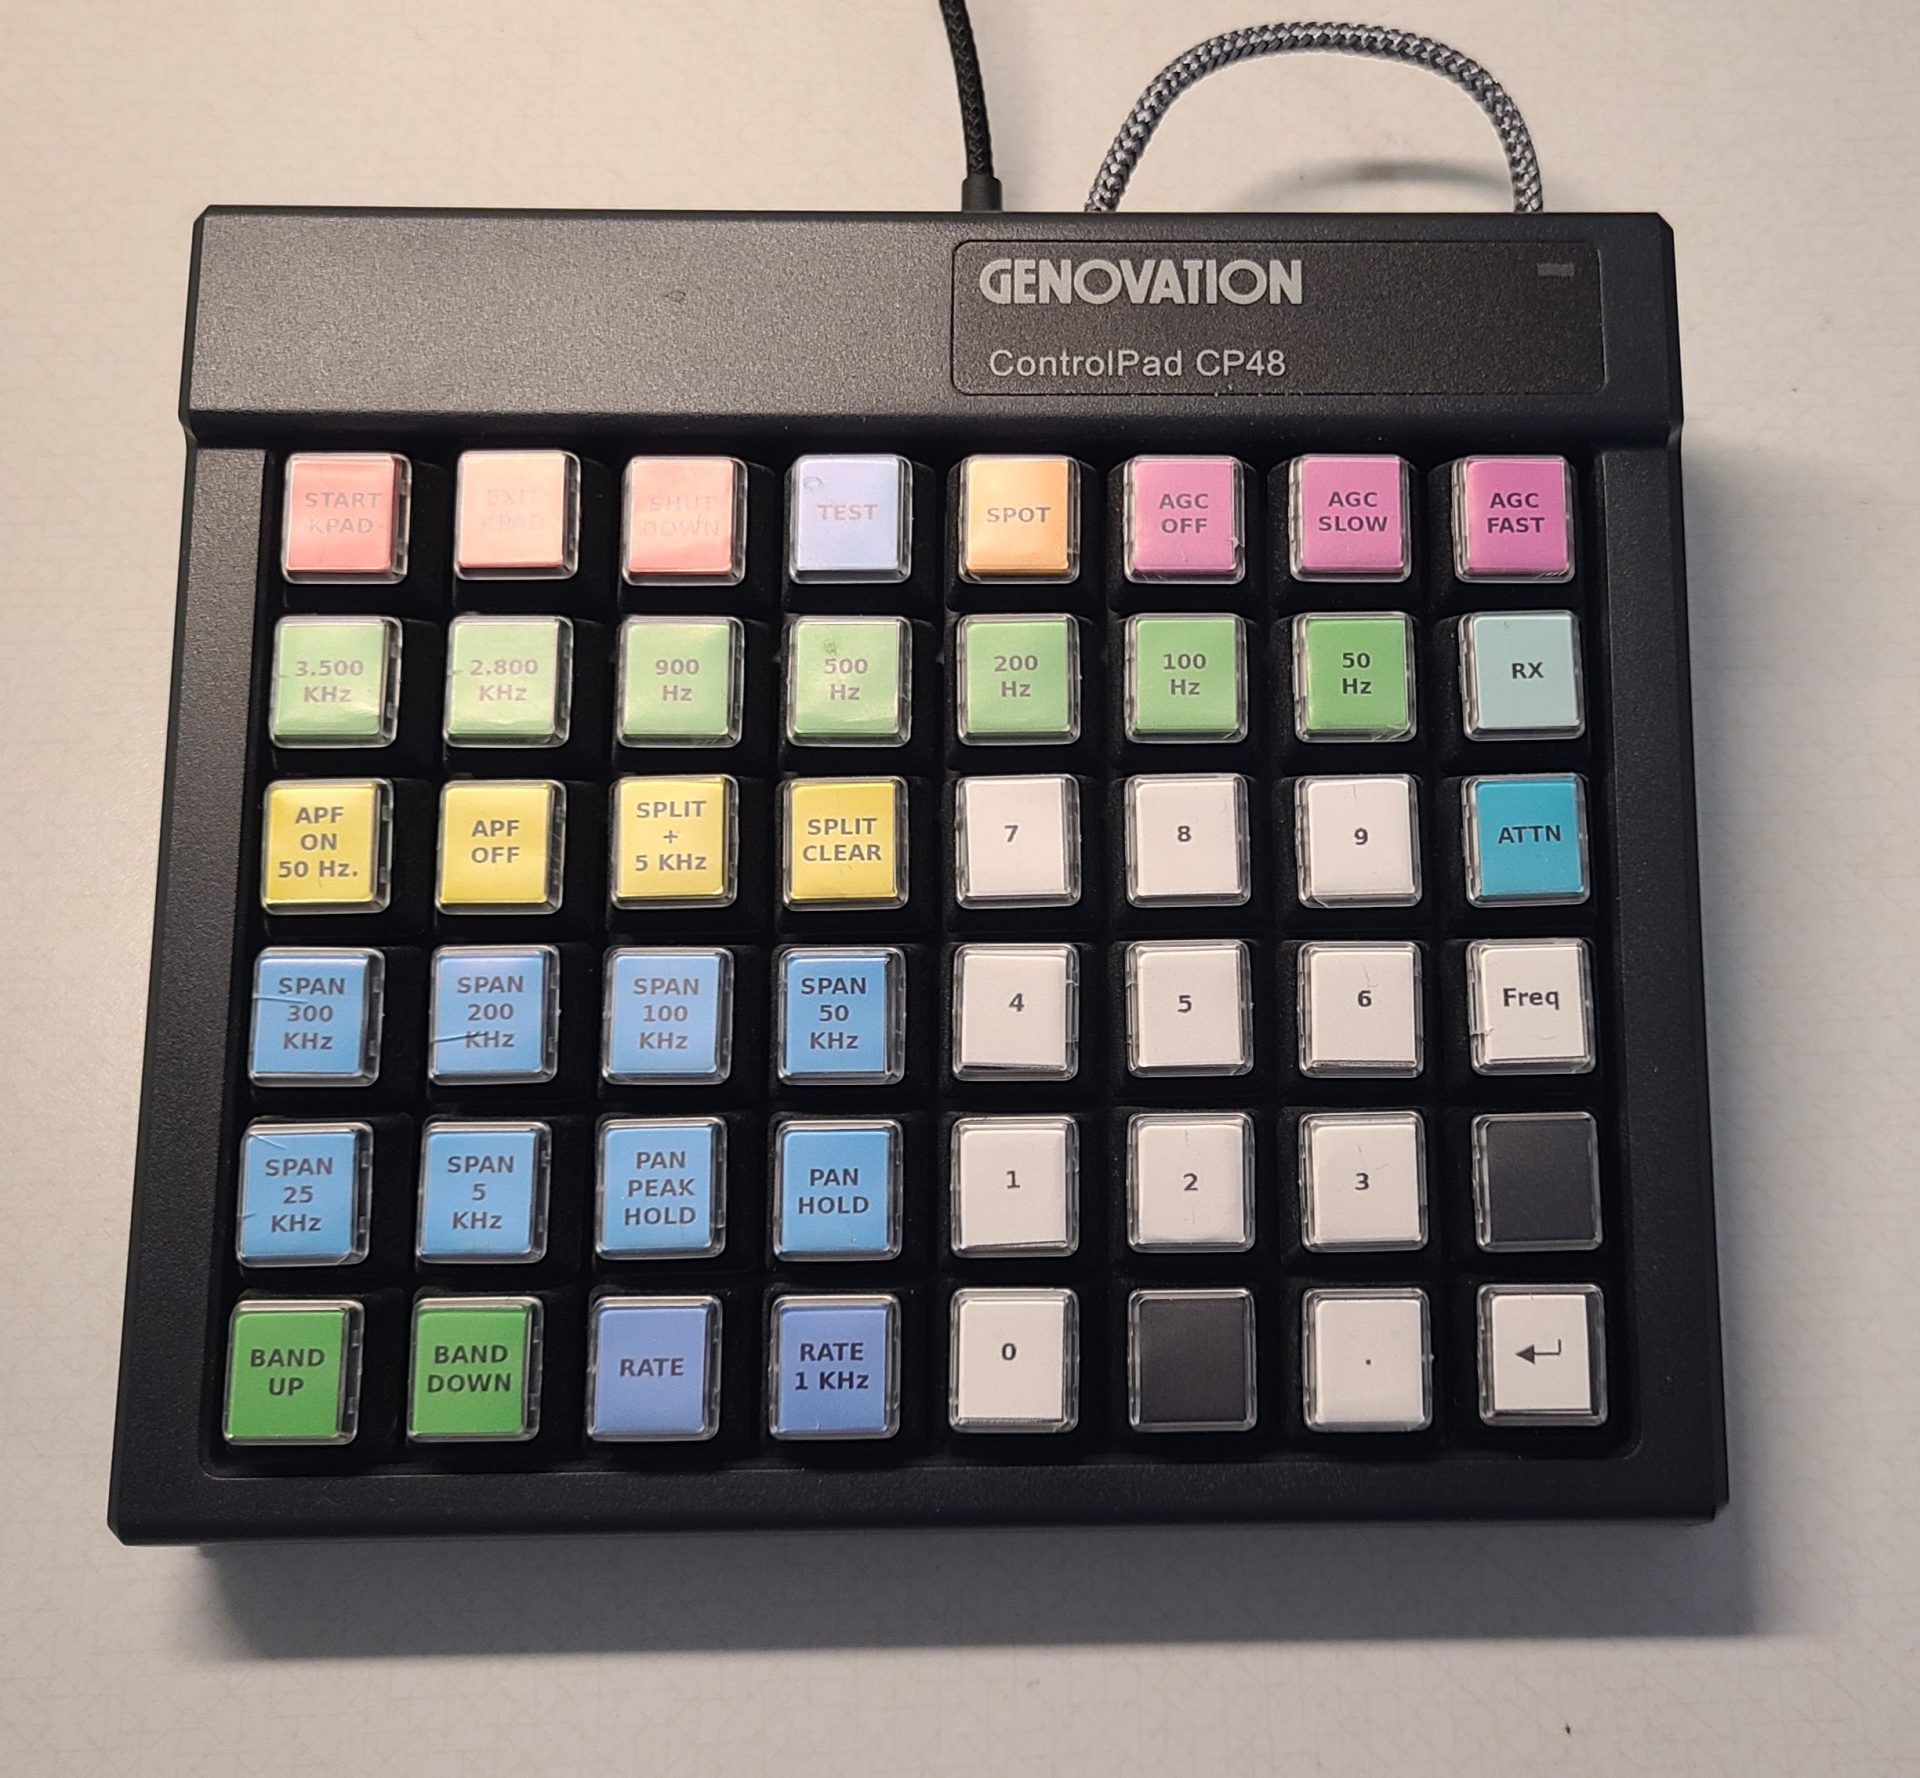
- Genovation ControlPad CP48
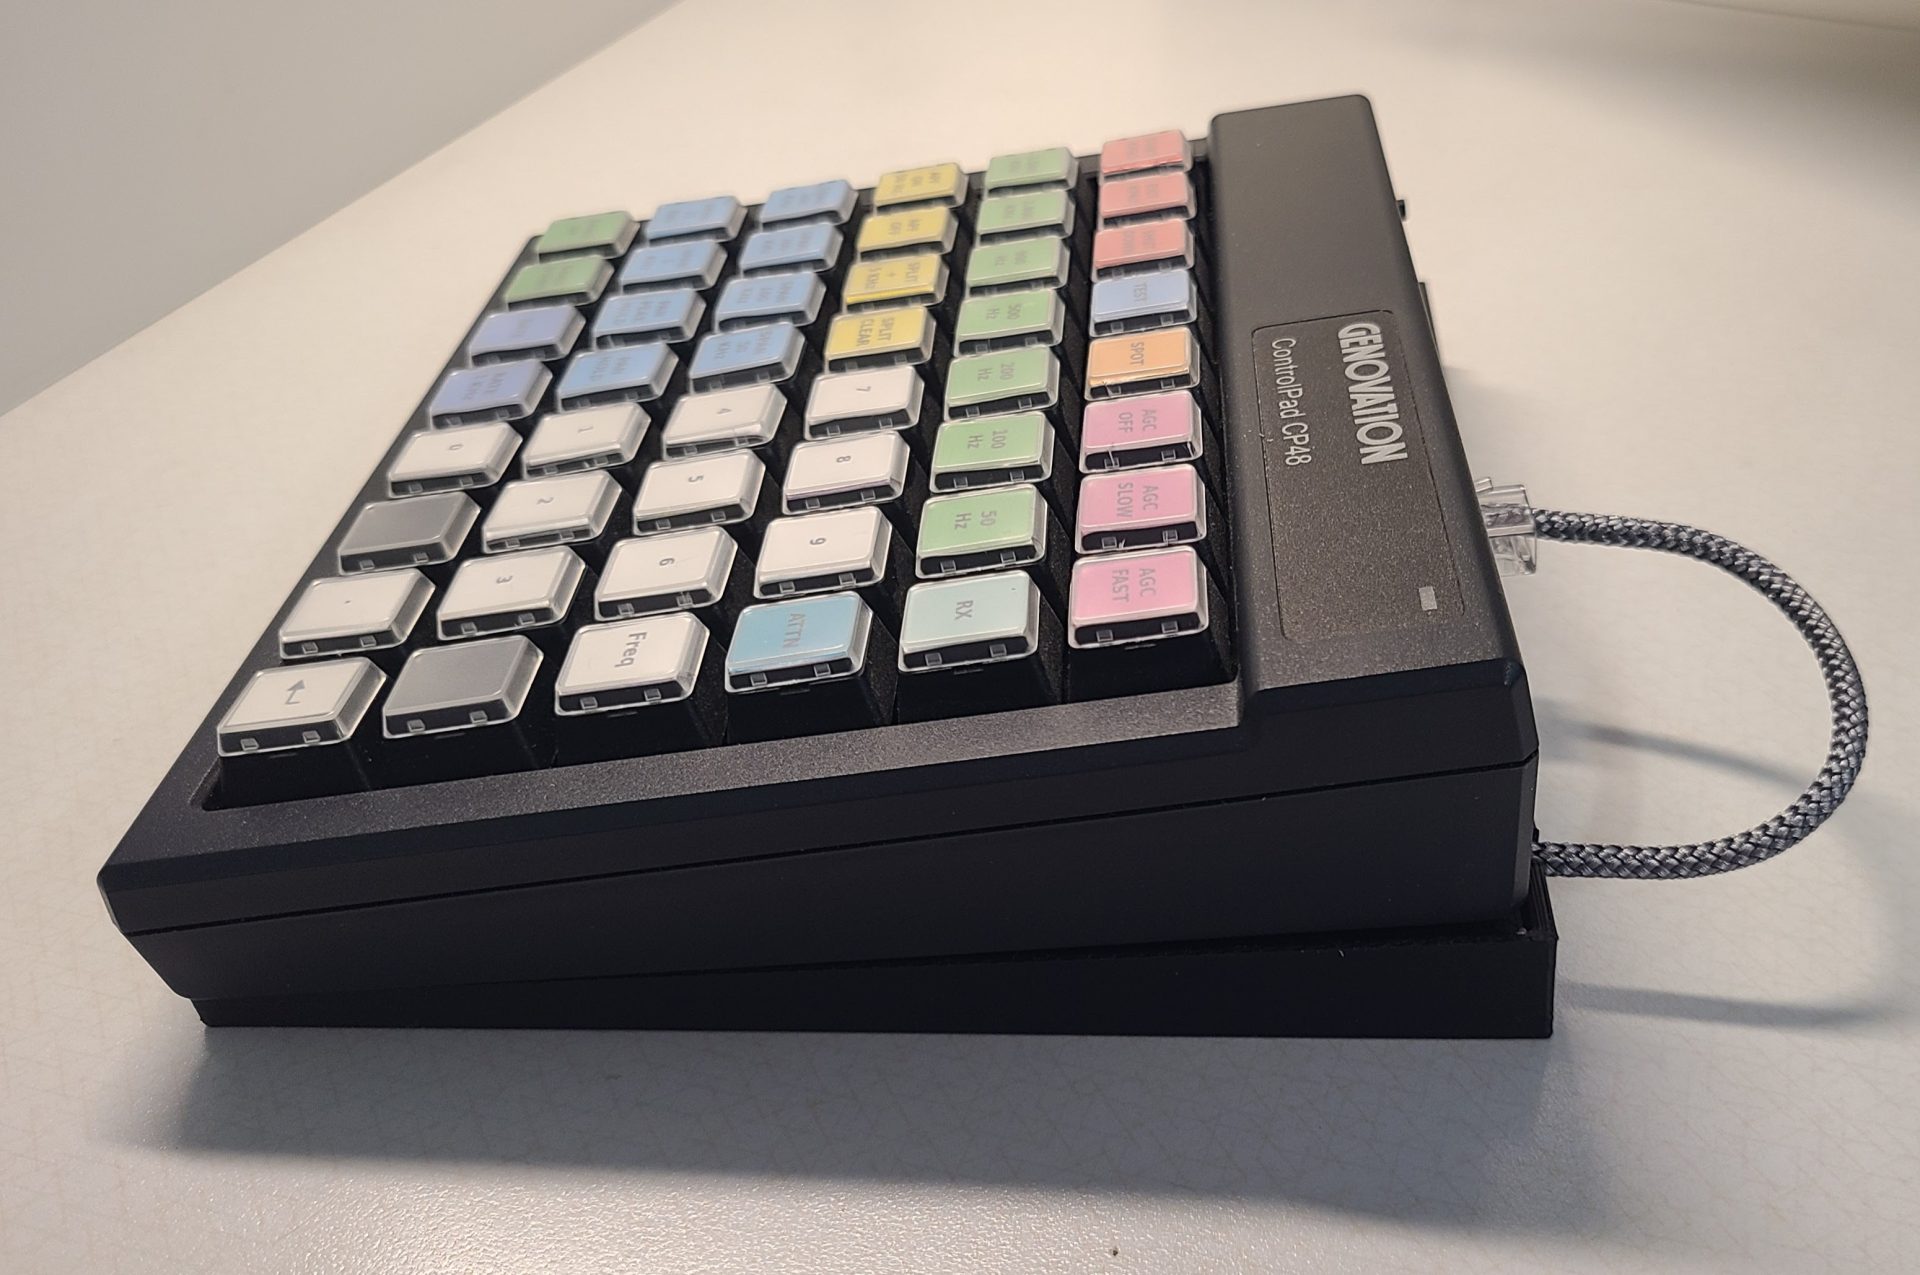
- 3D printed stand
- Modified USB-C to Ethernet cable

With my Raspberry Pi Zero 2 W, I found one of the Python libraries (telnetlib) was deprecated after Python v 3.13, so rather than install an older Python over a newer version on a newer Raspian distribution, I chose (because I don’t do Linux that well) to use download “2023-05-03-raspios-bullseye-armhf.img” using Raspberry Pi Imager, which also allows me to give it my home’s WiFi information.
I then installed Dave’s slightly modified Genovation Python script:
wget https://nf7z.net/genovation.py
Ran the script to give it the K4 serial number.
python3 genovation.py
Then exited the script, by typing Exit.
Setup the script to automatically start:
sudo nano /home/[username]/.bash_profile
python3 /home/[username]/genovation.py
In Raspi-config:
System options - Change hostname
System options - Boot to console w/ auto-login
Display options - Turned off screen blanking
Interface options - Turned on SSH & VNC
Advanced options - Expanded filesystem
Exit & reboot
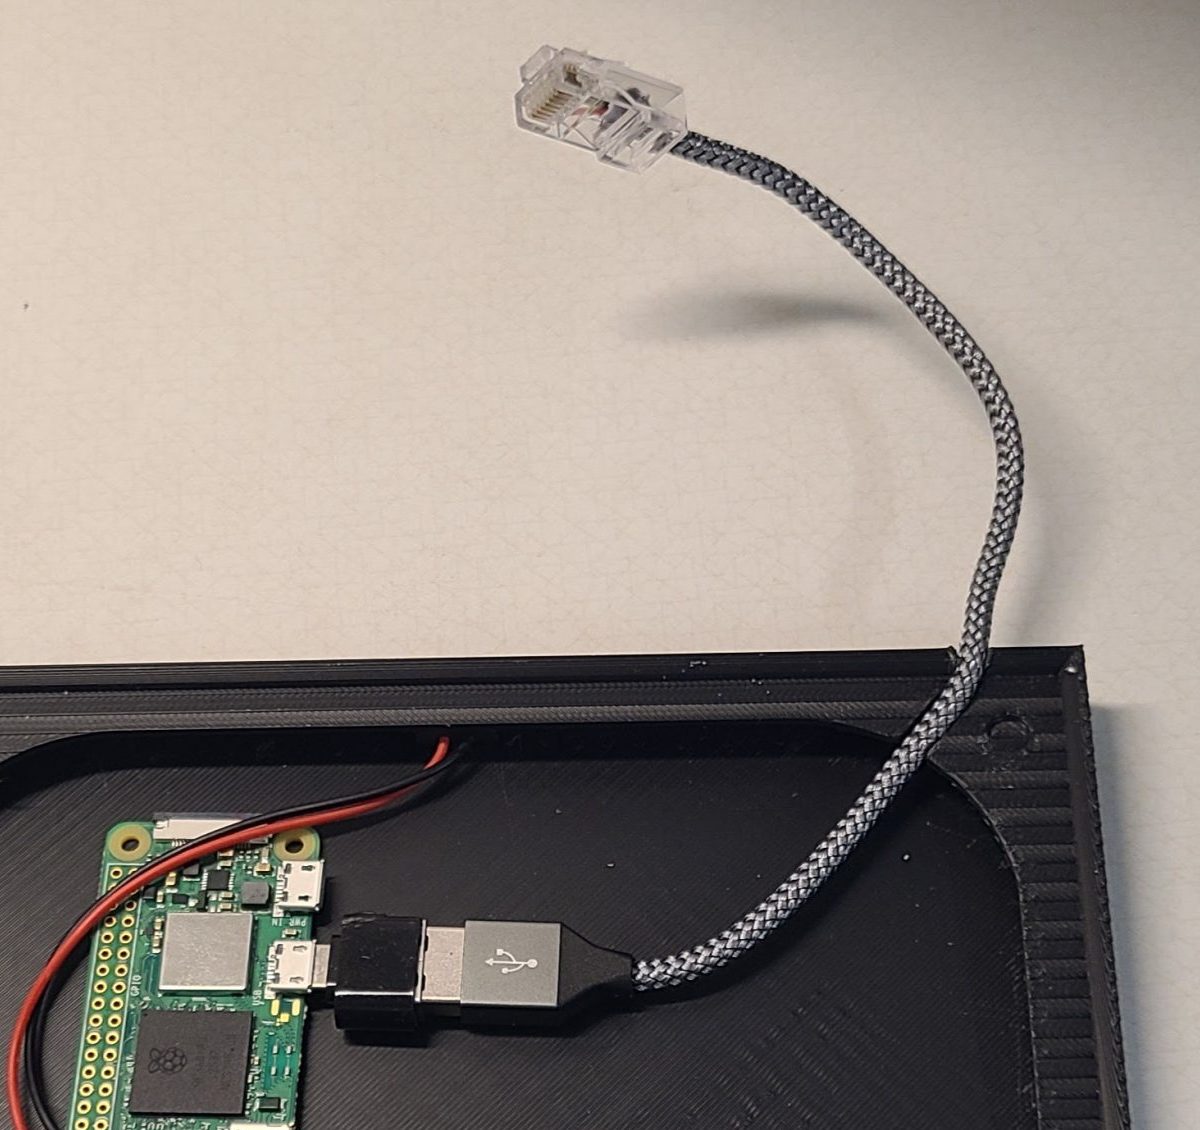
The Genovation uses a proprietary 3 foot USB C to Ethernet cable. I tested the connections and discovered it’s wiring is simple, but does require more current than some older or cheaper USB cables have. Here’s the tested wiring diagram:
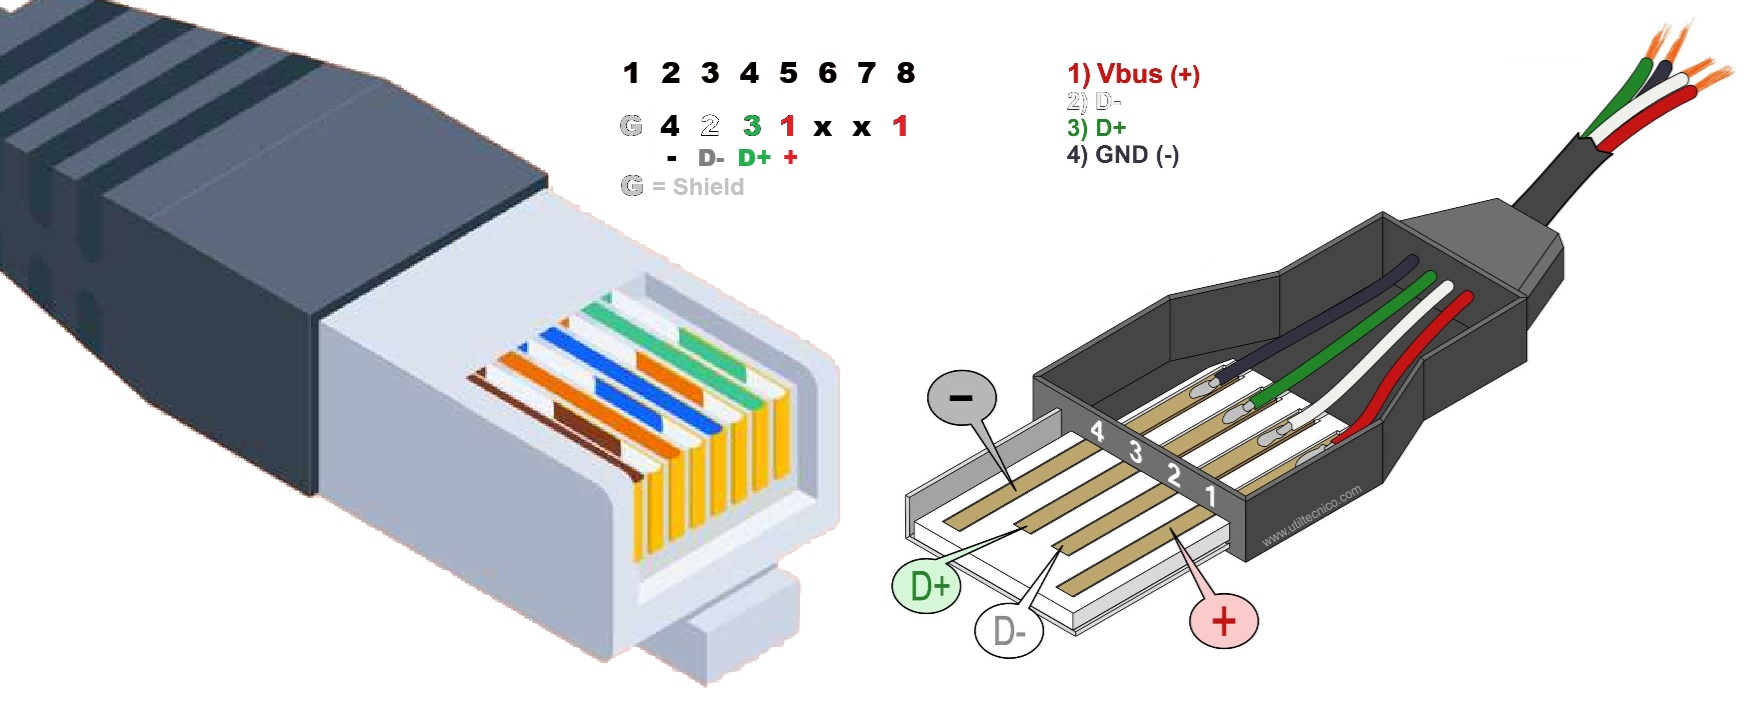
I found USB 3.0 cables had sufficiently thick enough wire to actually crimp in an RJ45 (Ethernet) connector.
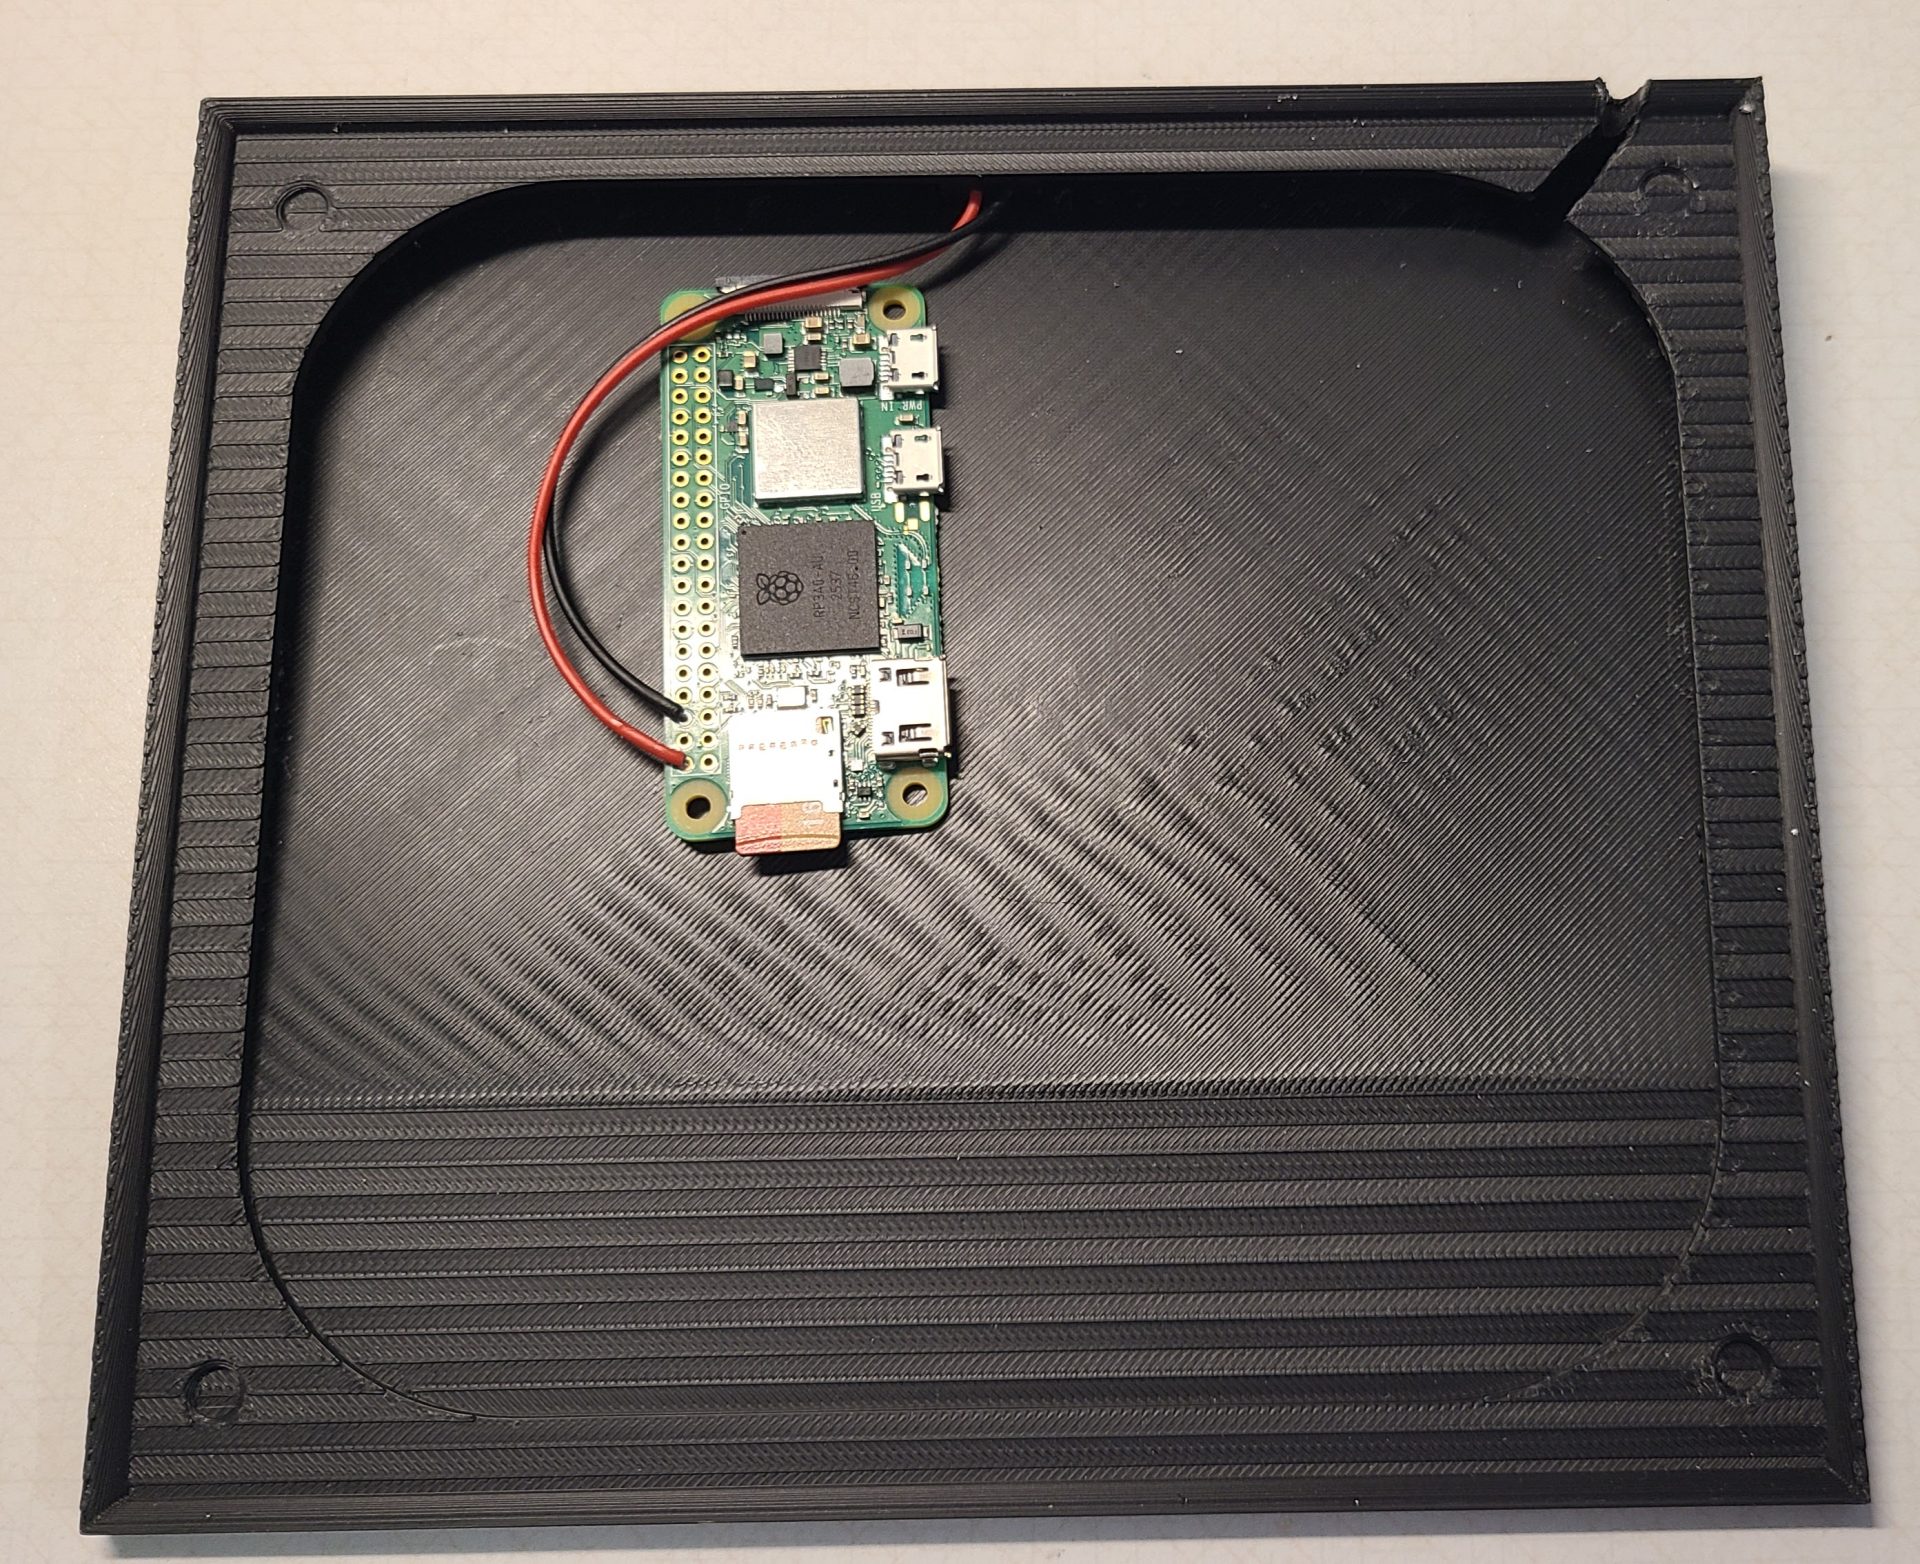
I designed and 3D printed a base to hide the Raspberry Pi Zero 2 W and added a USB C female connector w/ wires and soldered them onto the Pi. (3D file for CP48.)
Unlike Dave, I don’t do CW much, and I wanted the 10-key layout, so I modified the keyboard with this configuration and programmed the keys. The template and Genovation MacroMaster CPxx file are here.
It works very well!
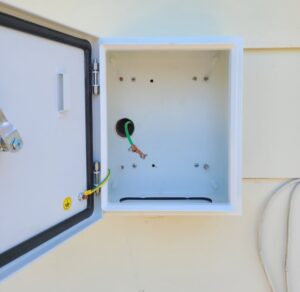
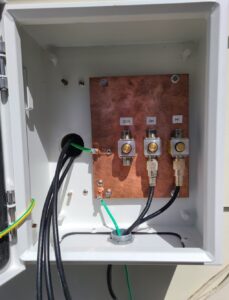
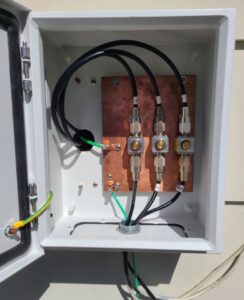
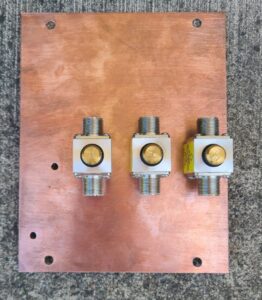 Since the lightning arresters were the most expensive portion of the project, I purchased over time three of Alpha Delta’s